When it rains, it pours. And when it pours, wood gets wet and your work stops. Or does it? In 20 years of woodworking, my lumber and I have seen many showers of rain. Initially, I had to wait half a month for the lumber to dry, but then I discovered a few techniques that helped me dry wet wood much more quickly.
To dry wet wood fast, you need to shelter it from the rain inside a garage, use fans to remove humid air and promote moisture loss, add a dehumidifier to accelerate the process, and space the lumber to ensure thorough drying. You should also weigh down the lumber to keep it from warping as it dries.
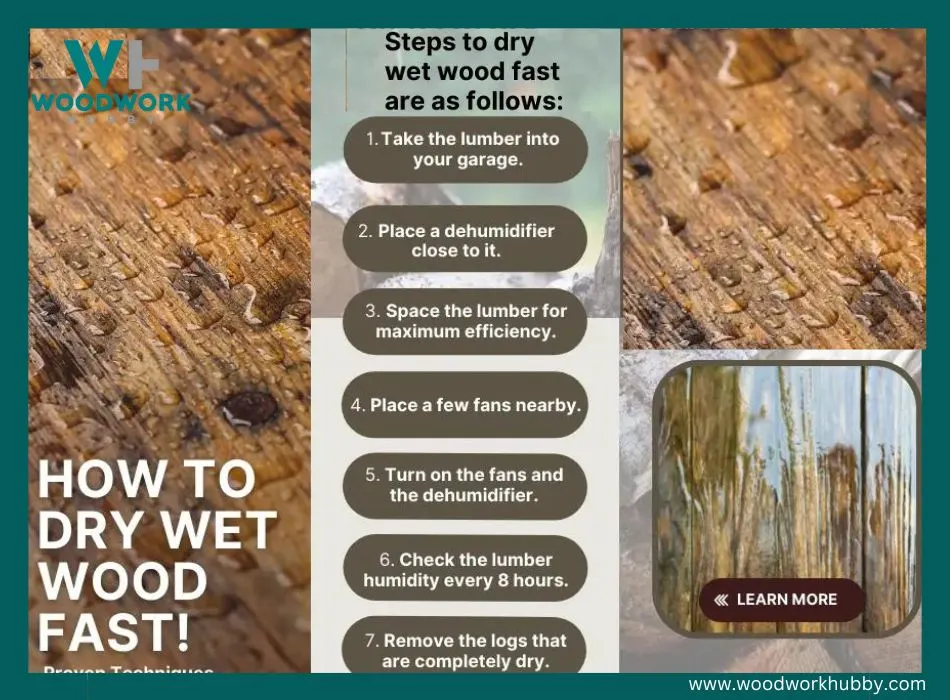
Steps to dry wet wood fast are as follows:
- Take the lumber into your garage.
- Place a dehumidifier close to it.
- Space the lumber for maximum efficiency.
- Place a few fans nearby.
- Turn on the fans and the dehumidifier.
- Check the lumber humidity every 8 hours.
- Remove the logs that are completely dry.
In this article, you will learn how long it takes for wood to dry with an ad without help. More importantly, you’ll discover the nuances of each step, including what to specifically do when you:
How To Dry Wet Wood Fast
There are three main ways to dry wood fast. The air drying method, the woodworker’s drying method, and the hasty drying technique. All of these work for different purposes. Air-drying is ideal for external projects.

A park bench doesn’t need to be uprooted and taken indoors for quicker drying. But if you’re a woodworker and need to dry wood fast, follow the steps covered in this section.
The video shows how to dry lumber | Tips, and tricks
Step 1 – Bring the Lumber Into Your Garage
The first step to drying wood quickly is to get it out of the garage. Generally, rain isn’t a one-off event. If you try to let the wood air dry, it can get rained on more than it receives sunlight.

Not only does the garage shelter wood from sunlight, but it also helps you take charge of atmospheric moisture. And this brings us to the next step.
Step 2 – Get a Dehumidifier
A dehumidifier removes humidity and moisture from the air. If something is drenched and has a higher moisture content than its natural state, the dehumidifier makes it easier to lose the excess moisture. However, a dehumidifier doesn’t act as a perpetual vacuum for water, or humans would die in its presence.
There is a threshold to how much moisture it can remove from the air in a set amount of time. That also creates a maximum limit for the amount of water the wood can lose during a set amount of time. So, you need to optimize wood placement and garage atmosphere to get wood to dry faster.
If you don’t have a dehumidifier, I recommend getting a FRIGIDAIRE High Humidity Dehumidifier. It is better at removing humidity from drenched wood than the standard indoor dehumidifier. You can also use it for your home and whenever it rains in the future.
FRIGIDAIRE High Humidity Dehumidifier
With over 1,800 reviews and ratings, it has proven its mettle to a large enough sample of people. Its global collective average stands at 4.3 out of 5 stars, which is pretty impressive.
More importantly, it is rated 4.5 stars for being energy-efficient. Given that this drying process will last for days, your dehumidifier should be more efficient, so your electric bill isn’t through the roof.
Step 3 – Space the Lumber
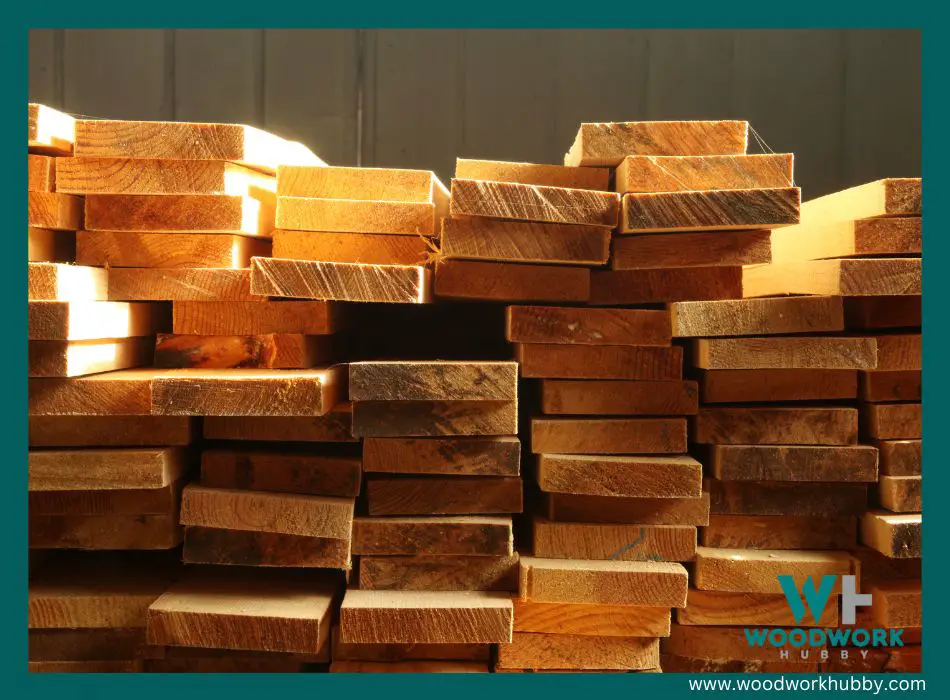
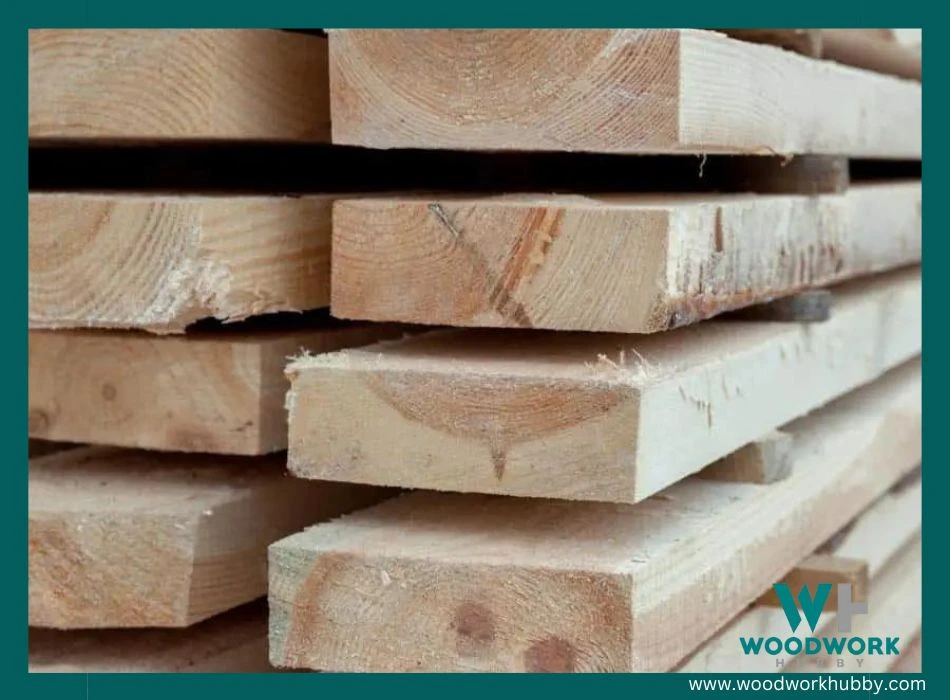
These are flat sheets of hard material that the logs can rest on. Instead of stacking beams or logs directly on top of each other, you can have them in an alternating position.
Since a flat sheet goes over each layer of spaced logs, the next layer of logs on top can be off by one log, so there is empty space beneath and above each log or beam.
Step 4 – Bring 2 or 3 Fans Into the Garage
The goal of adding fans is to increase the dehumidification process. The quicker the moist air gets out of the garage, the easier it will be for the dehumidifier to get rid of the excess moisture in the wood.
If you don’t have two fans, even one will help. Whether you want to buy fans just to dry the lumber depends on how much wood there is.
If there are two to three layers of logs, then the drying process will be quick enough with a single fan. However, when the layer stack increases to six logs high, you really need 3 fans. Otherwise, it will take a long time to get rid of the moisture.
And that time will be enough for mold to infest the lumber. Spacers/stickers also weigh down the logs/sheets, so the wood doesn’t warp. If you don’t have more than one layer of wood beams, then you should place a sticker over them.
Then you should put something heavy over the sticker to weigh down the wood and prevent warping.
Step 5 – Turn on the Dehumidifier and the Fans
The next step is to turn on the appliances and let them run for a while. I run my dehumidifier 24 hours a day and keep 1 fan on round the clock while the other 2 run for 18 hours. I cycle the fans, so every fan gets to rest, and each one has to take a 24-hour shift.
You need the wood to dry as quickly as possible because of the mold risk. And whether you run 1 appliance for 24 hours or 2 appliances for 12 hours each, the electricity charges are the same. So, I might as well take the quicker route.
Step 6 – Keep Checking on the Lumber
This step is optional if you have only one piece of wood. But if you have several beams or sheets that need drying, you must make sure that the dry ones don’t start absorbing moisture from the surroundings.
Wood doesn’t pull humidity from the atmosphere at nearly the same speed as a dehumidifier, but if the humidity remover is at capacity, the dry wood can start getting wet again. This is more likely when few or no fans are active.
When you check on the wood to see if it is dry or not (check the FAQs to know how to do this), please note how full the dehumidifier tank is. Empty the tank whenever it is near its capacity so that it can operate at its full capacity.
Step 7 – Remove the Dry Wood From the Garage
This step is self-evident. Once the wood is dry, you need to remove it from the garage. However, not all the wood will get dry at the same time. You will need to start removing logs after one or two days and continue for up to a week. For much larger batches, the process can take two weeks.

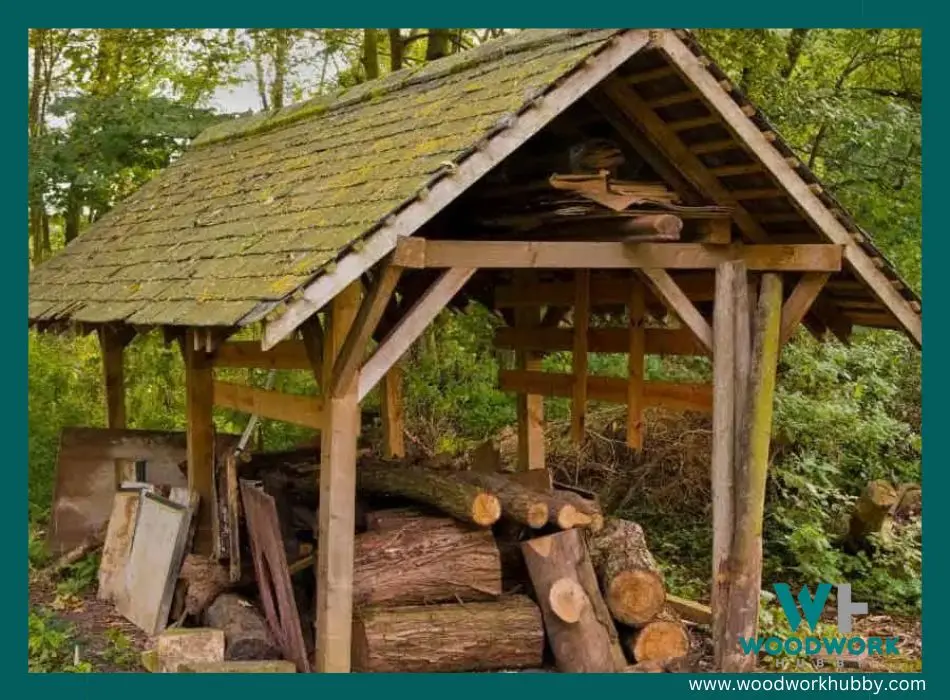
Upon removing the wood, make sure it goes into a basement or shed where rain won’t damage it further. During the process of checking and removing wood, you might notice some surface-level molding. Spray the lumber with white vinegar so the mold doesn’t spread. I find that the dead surface mold gets removed in sanding.
With my 20 years of experience in sanding here is my detailed article on whether You can sand wet wood!
How Long Does It Take Wood To Dry After Rain?
It takes over a month for wood to dry completely out in the open during the rainy season. Inside, with appropriate drying measures, wood can dry in 5 to 10 days, depending on the conditions. With fans and a dehumidifier, this process can be sped up.

It takes one week for wood to dry in sunny conditions and 15 days in an average climate. In places with little to no sun, it can take a few weeks. It is advisable to avoid using lumber for 8 days after the rain stops when you artificially dry it.
The one-week rule applies to places where there is an average amount of sunlight. Remember that the time you have to wait directly correlates with the atmospheric heat in your state. Some states have a higher atmospheric heat than others.
It is theoretically possible for wood to dry in 3 days. In my estimation, it might be possible in the Sahara desert, but the average American woodworker cannot hope to have such a quick drying period.
A 5-day wait is possible in sunny states during July. But since rains are unlikely during this period, the 7-day wait rule applies. But if your lumber gets wet during the summers (or even outside of summer) for reasons other than rain, it can dry quicker.
The two factors that dictate how much you need to wait for the wood to dry are the atmospheric heat and the cause of wetness. Rain drenches wood, which increases the moisture content throughout the wood, even reaching its core. In contrast, a smaller water spill would just soak the surface and would require a shorter waiting period.
Please note that the type of wood also matters. Some wood soaks more water than others. Knowing when the wood is dry is crucial for woodworking. That’s why we will address this later in the article.
This is the method I used when my plywood got wet on a trip home.
How to Dry Wet Wood Fast? | FAQs
How Can I Make Dry Wood Quickly?
You can make wood dry quickly with two methods.
- For project wood, you can use a dehumidifier alongside a few fans in a garage or a shed. This is ideal for regions that don’t get enough sunlight.
- To dry kindling or firewood, you can use a convection oven.
How To Make Wood Dry Faster?
You can make wood dry faster by increasing the number of fans in the garage where it is and using a strong dehumidifier to speed up the moisture removal process. The stronger your dehumidifier, the quicker the wood dries.
What Do I Do if My Wood Is Too Wet?
If your wood is too wet, you can place it indoors and use a basement dehumidifier to get rid of excess moisture in it. Basement dehumidifiers are meant to remove moisture from not just the air but also drenched corners.
Can Wet Wood Be Dried?
Wet wood can be dried manually as well as naturally. If the wood is wet because of a spill, sunlight exposure can dry it. If it is wet because of rain, you must protect it from further rain and should dry it indoors with a dehumidifier.
How To Tell if Wood Is Dry?
You can tell if the wood is dry by using a moisture meter or your hand. For personal use, you can check the wood’s dryness by touch. But if you’re a woodworker, then you need a moisture meter to assess the moisture levels in wood.
I recommend Klein Tools Pinless Moisture Meter because it allows you to figure out the moisture content of wood without damaging it. Most moisture meters have pins that scratch or penetrate a material. And that’s fine for project wood. But for semi-finished and finished wood, you need a pinless moisture meter.
How Long Does It Take Wood To Dry After Water Damage?
Once the wood is wet enough for water damage, it will take 3 weeks to dry on its own. But since water damage manifests after a few days of getting wet, the wood has 2.5 weeks to dry in an average climate. You can speed the process up with a dehumidifier.
The video shows water-damaged wood floors drying dehumidifiers
Can You Use Wet Wood in Woodworking – Good or Bad?
You cannot use wet wood in woodworking because moisture changes the size and temperament of wood. As it dries, it might not fit as snugly into the joints. Moreover, the moisture can spread to drier lumber.
Finally, there is also the chance of warping and molding, both of which are tougher to tackle in projects than in standalone lumber. Therefore, you should avoid using wet wood in woodworking and aim to have it dry enough to where it doesn’t change sizes and, more importantly, doesn’t damage your tools.


