Got a piece of warped wood that’s giving you problems? I feel your frustration; I’ve had my fair share of bowed or twisted lumber to deal with. After trying multiple methods and pouring extensive research into this, I’ve identified the best strategies to fix warped wood.
Stick around, and let’s straighten things out together!
Key Takeaways
- Warped wood is caused by uneven drying rates and imbalances in moisture content within the wood.
- Different types of warping include bow warp, cup warp, twist warp, crook warp, and spring warp.
- Methods to fix warped wood include applying heat and moisture, using an iron, applying pressure with damp paper towels or weights, utilizing the nylon paper technique, and using sunlight.
- Preventive measures such as proper storage and avoiding excessive exposure to moisture or sunlight can help prevent wood warping.
Understanding Wood Warp
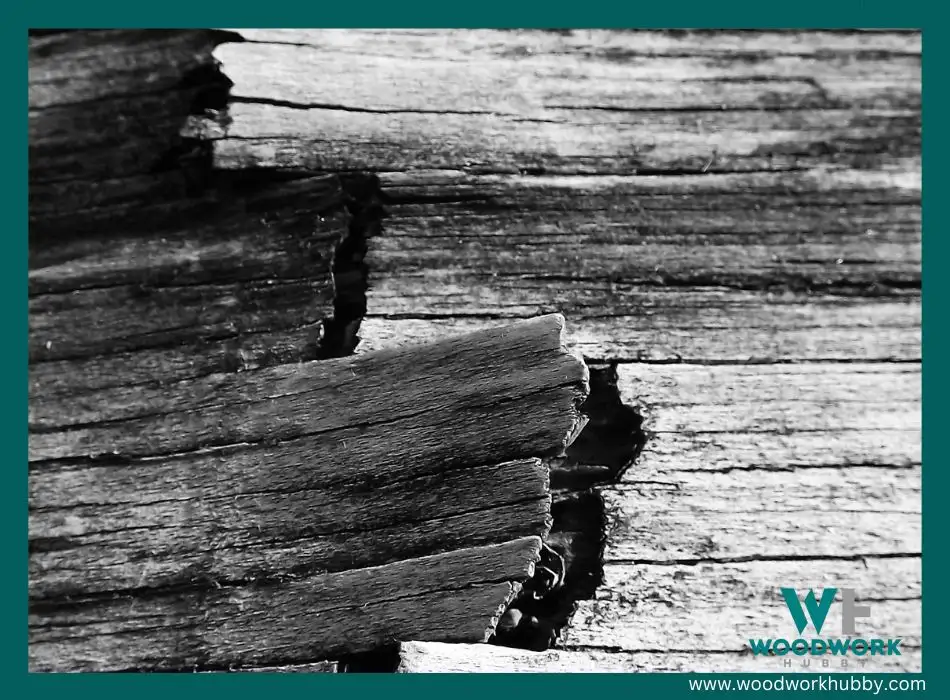
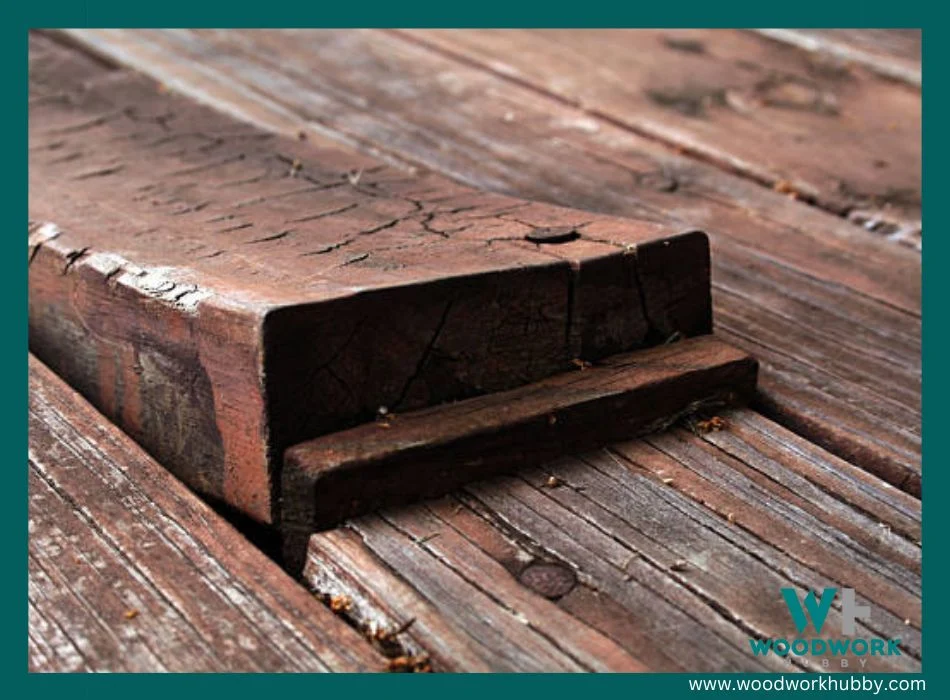
First, it’s crucial to grasp what wood warp is. Wood warping refers to a deviation from flatness as a result of stresses and uneven drying rates within the wood. Essentially, when different parts of a piece of lumber lose moisture at contrasting rates, it leads to warped or twisted wood.
The problem isn’t confined to any particular type of lumber; you’ll find bowed or cupped pieces in both softwoods like pine and hardwoods such as oak.
The process behind warping can be quite complex and depend on various factors including the species, grain orientation, sunlight exposure levels, uneven finishing techniques applied by the manufacturer, airflow around the material as well as its inherent moisture content.

Each factor plays its role in determining if your lumber will stay straight or take on an unwanted shape over time. By understanding these causes better we can devise suitable measures how to fix warped wood effectively.
Types of Wood Warping
Understanding the different kinds of wood warp is critical before you attempt to fix it. Here’s a rundown on five primary types of warping that can happen in wood:
- Bow Warp: It manifests as a raise at both ends of the wood, giving it a bow-like appearance.
- Cup Warp: This type results in a concave or convex shape, with the wood resembling a cup.
- Twist Warp: A little more complex, this involves the wood twisting along its length which often creates an irregular surface.
- Crook Warp: Recognizable from its curvature along the length of the lumber piece – imagine the wooden staff of a shepherd and you get the picture.
- Spring Warp: In this case, your wood becomes twisted or bent but has the ability to return back to its original shape once pressure is released.
Causes of Wood Warping
Wood warping is commonly caused by imbalances in the moisture content of wood, which can result from varying factors. For example, some woods are more susceptible to absorb and lose moisture due to their species-specific characteristics.
This susceptibility can lead to an uneven distribution of water within the wood fibers, primarily when different parts of the timber dry at conflicting rates. The outer layers exposed to air and heat often dehydrate faster than those on the inside.
This variance in drying speed turns into a significant cause behind twisted wood or bowed wood.
Further adding to this problem is exposure. Wood left untreated under extreme temperature changes or fluctuating humidity levels will most likely suffer from warped wood issues, since these conditions disrupt the equilibrium of its internal moisture content causing deformation over time.

An uneven finish may contribute as well, absorbing too much moisture on one side compared with other sides can also make your lumber warp significantly.
Hence understanding these causes and taking proper measures towards preventing them helps maintain balance in your wooden piece’s moisture content thereby ensuring durability of use and preserving aesthetic appeal.
See my guide on how to stop a crack in wood from spreading.
Methods to Fix Warped Wood
To fix warped wood, you can apply heat and moisture, use an iron, apply pressure, try the nylon paper technique, or utilize sunlight.
Straightening warped wood
Adding Heat and Moisture
I have found that adding heat and moisture is an effective method to fix warped wood. Here are some steps you can follow:
- Prepare a wet cloth or sponge by dampening it with water.
- Place the damp cloth or sponge on the concave side (the side that has warped inward) of the warped wood.
- Use an iron set to medium heat or a heat gun to apply heat to the damp cloth or sponge.
- Move the iron or heat gun back and forth over the cloth in slow, steady motions for about 10 – 15 seconds.
- Remove the heat source and let the wood cool before removing the damp cloth.
Using an Iron
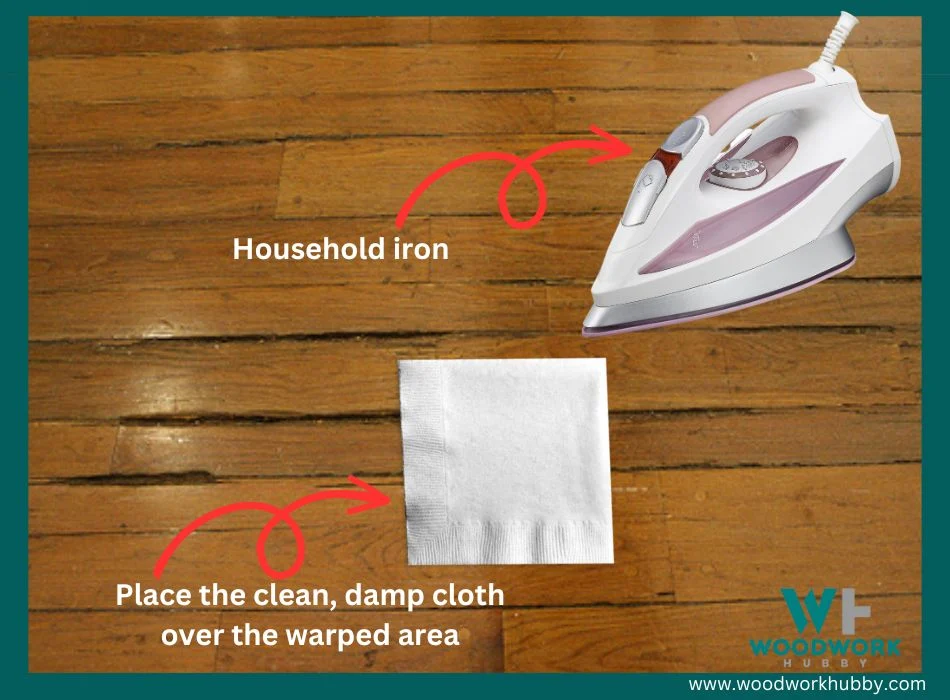
One effective method that I have personally used to fix warped wood is by using an iron. It may sound unusual, but trust me, it works wonders! Here’s how you can use an iron to straighten out bowed or twisted wood:

- Start by identifying the areas on the wood that are warped. These are usually the sections that appear curved or uneven.
- Place a clean, damp cloth over the warped area. This will protect the wood from direct contact with the hot iron.
- Set your household iron to a low heat setting and allow it to preheat. It is important not to use high heat, as it can damage the wood.
- Gently press the iron onto one end of the covered wood and gradually move it up along the surface. This helps in applying heat and pressure simultaneously, which aids in straightening out the warp.
- Repeat this process multiple times, focusing on different sections of the warped area each time. Be patient and take your time to ensure even heating across the entire piece of wood.
Video showing how to iron out a warp
Applying Pressure
One effective method to fix warped wood is by applying pressure to the affected area. Applying pressure can help straighten out crooks and twists in large pieces of wood. Here are some steps to follow:
- Prepare moist paper towels: Dampen several paper towels with water.
- Place paper towels on the warped area: Lay the moist paper towels directly onto the affected area, ensuring complete coverage.
- Secure with clamps: Use clamps to hold the damp paper towels in place, applying even pressure over the entire surface of the warped wood.
- Allow time for correction: Leave the clamped wood in a dry and flat location for several days, allowing it time to gradually unwarp under pressure.
- Check progress: Periodically check on the wood to see if it has started to straighten out. Adjust the clamps if needed.
Using the Nylon Paper Technique
When it comes to fixing warped wood, one of the easiest and most effective methods is using the Nylon Paper Technique. This technique involves using nylon paper and a wet cloth to apply pressure to the warped wood, encouraging it to straighten. Here’s how you can use this technique:

- Gather your supplies: You will need nylon paper, a wet cloth, and heavy objects such as books or weights.
- Dampen the cloth: Moisten the cloth with water, making sure it is not dripping wet.
- Place the nylon paper: Lay the nylon paper over the warped area of the wood. The nylon helps create an even distribution of pressure.
- Position the damp cloth: Put the damp cloth on top of the nylon paper, directly over the warped section.
- Apply pressure: Stack heavy objects on top of the damp cloth to exert pressure onto the wood.
- Wait for it to straighten: Leave the weighted objects in place for several days or longer, depending on how severe the warp is. This allows the moisture from the damp cloth and weight from the objects to gradually encourage the wood fibers to straighten out.
- Check progress: After a few days, remove the weight and check if there has been any improvement in straightening out the warped wood.
- Repeat if necessary: If there is still some warp remaining, you can repeat this process until you achieve satisfactory results.
Using Sunlight
As an experienced woodworker, I have found that using sunlight is a common and effective method to fix warped wood. Sunlight can be used in combination with other techniques to straighten and unwarp wood naturally, without the need for expensive equipment or tools. Here’s how you can use sunlight to fix bowed or twisted wood:
- Place the warped wood in direct sunlight: Position the affected piece of wood in a sunny spot outdoors, such as a patio or garden. Make sure it receives ample sunlight throughout the day.
- Let the sun work its magic: Sunlight helps in heating the affected section or the entire piece of warped wood. The heat causes the fibers to expand and relax, gradually reducing the warp over time.
- Regularly monitor progress: Check on the wood periodically to gauge improvement. It may take several days or weeks for noticeable results, depending on the severity of the warp.
- Rotate and reposition as needed: For uniform fixing, rotate and reposition the wood periodically so that all sides receive equal exposure to sunlight.
- Combine with other methods if necessary: If using sunlight alone doesn’t fully straighten the wood, you can also try combining it with other techniques outlined in this article, such as adding heat and moisture or applying pressure.
See what I have put together on how to treat untreated wood.
Jack Planing
When it comes to fixing warped wood, one method that can be effective is jack planing. This technique involves using a jack plane to remove part of the bent area and straighten the surface. Here are some key points about jack planning:
- Jack planing is a popular hand tool method for fixing slight cupping and bowing in wood.
- It requires some skill and precision to perform properly.
- The process involves carefully shaving off layers of wood from the high spots until the surface becomes flat again.
- A sharp jack plane with a well-adjusted blade is essential for achieving good results.
- It’s important to use consistent and controlled strokes when planning, applying even pressure on both ends of the board.
- Regularly check your progress to ensure you’re removing material evenly across the warped area.
- Take care not to over-plane or remove too much material, as this can weaken the structure of the wood or create low spots.
- While jack planning can be an effective way to fix minor warping issues, it may not work for severe cases or certain types of warping.
- In such situations, seeking professional assistance or considering alternative methods may be necessary.
Tips to Prevent Wood Warping
In my experience, there are several important tips that can help prevent wood warping and keep your projects looking great. First, it’s crucial to maintain a consistent humidity level in your storage area.
Fluctuations in moisture can cause the wood to expand and contract, leading to warping. Additionally, sealing the wood using a high-quality sealer or oil is an effective way to prevent warping.
This helps protect the wood from absorbing moisture and keeps it stable.
Another tip is to store lumber flat during storage. When you stack wood vertically or haphazardly, it puts uneven pressure on different areas of the boards and increases the risk of warping.
Storing them flat helps distribute weight evenly and reduces stress on the wood.
Acclimating wood to its environment before use is also crucial in preventing warping. If you’re working with lumber that has been stored in a different climate or humidity level, allow it to sit in its intended location for a few days before starting your project.
Have you ever wondered how to stop wood from splitting? I wrote a full detailed guide here.
This allows the wood to adjust and minimize any potential warping once it’s used.
Properly drying your wood before use is another key factor in preventing warping. Moisture content plays a significant role in how susceptible wood is to warp over time. Ensure that your lumber has been dried adequately based on its specific species and thickness before incorporating it into your project.
Lastly, choosing the right type of wood can make a difference when trying to avoid warping issues altogether. Softwoods like pine and cedar tend to be more prone to warp compared to hardwoods such as oak or walnut due to their cellular structure.
By following these tips consistently throughout your woodworking process, you’ll greatly reduce the chances of encountering warped pieces down the line, allowing you to create beautiful projects with confidence
Final Thoughts – How To Fix Warped Wood
Fixing warped wood is a common challenge for many woodworking enthusiasts, but with the right techniques and tools, it can be easily remedied. Applying heat and moisture, using an iron or sunlight, and employing pressure are effective methods to straighten bowed or twisted wood.
By understanding the causes of wood warping and implementing preventive measures, you can ensure that your wooden creations remain beautiful and functional for years to come. Don’t let warped wood discourage you – tackle the issue head-on and enjoy working with perfectly straight pieces of lumber.
FAQs
1. What causes wood to warp?
Wood warping can be caused by changes in humidity or temperature, improper storage or drying techniques, and uneven distribution of moisture in the wood.
2. Can warped wood be fixed?
In many cases, warped wood can be fixed by applying pressure or heat to reshape it back into its original form. However, the success of the repair depends on the severity and type of warp.
3. How do I fix a small warp in a piece of wood?
To fix a small warp in a piece of wood, you can try using clamps or weights to apply pressure on the affected area while allowing it to dry slowly. Sanding and refinishing may also be necessary afterward.
4. Is it possible to prevent wood from warping?
While it is challenging to completely prevent wood from warping, there are some measures you can take to minimize the risk. These include properly sealing and finishing the wood, storing it in controlled environments with stable humidity levels, and using appropriate drying techniques during woodworking projects.


