I have been carving wood for close to 20 years. It is one of the parallel practices I picked up alongside wood-turning when I began woodworking. I was going through my carving collection and realized that I hadn’t written enough about the subject. I want to communicate what took me decades to learn, starting with carving in the round.
Carving in the round or sculpture in the round refers to a carving that is crafted from all around. It is a three-dimensional carving that can be observed from every side. In contrast, a relief carving is two-dimensional and can be observed from the top.
This article is your guide to what carving in the round is, why it is called that, and how you can start carving in the round. Project ideas are included towards the end. By the end of this post, you’ll be ready to start crafting your three-dimensional carving.
What Is Carving In The Round?
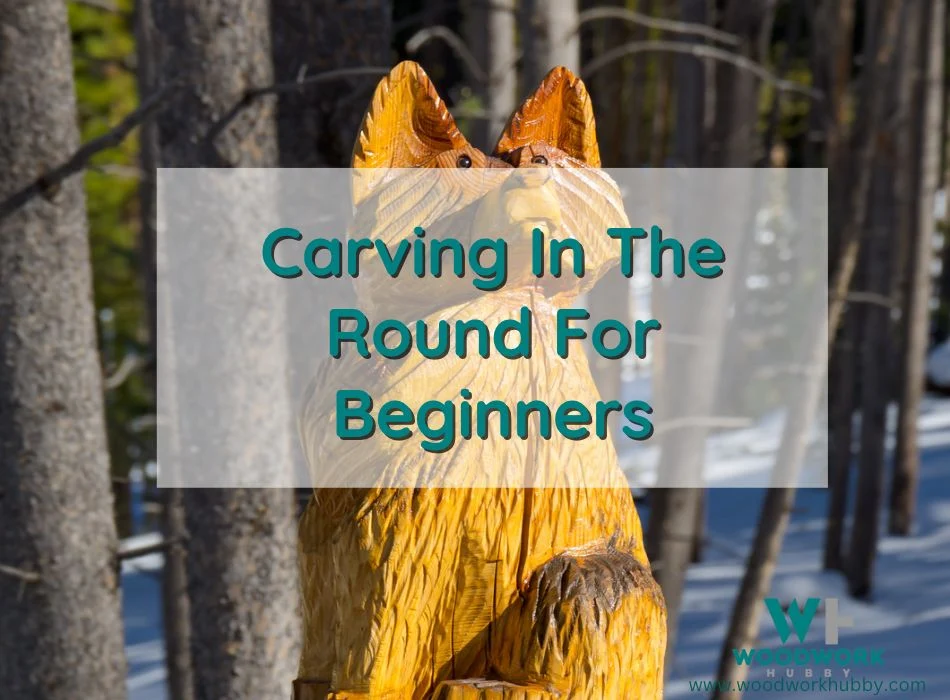
Carving in the round is a term that implies carving in three dimensions, including some aspects that are curved. A project that is carved in the round has a life-like quality and can be observed from any direction.
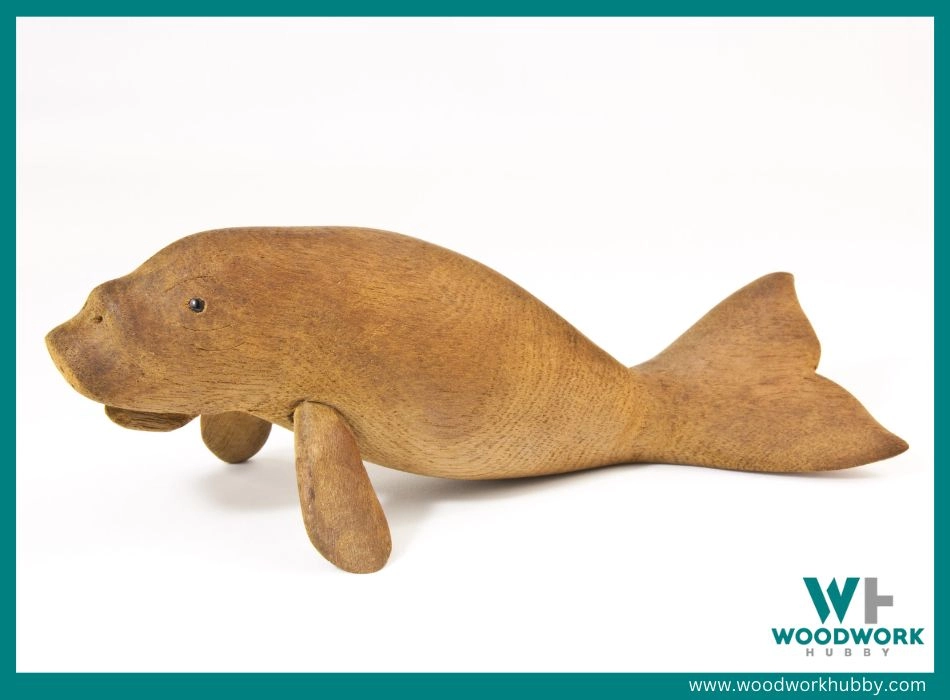
Carving in the round can be contrasted with etching, which is a form of carving in one to two dimensions depending on the kind of project. Some people confuse carving in the round with wood turning and curved carving. But carving in the round is a different art form.
A video showing wood carving for beginners, basics, and tips.
Its name doesn’t come from “roundness” but from going around the wood to carve details. Any project that can be observed to have full effect from any side is crafted in the round. If carving or whittling techniques are used to make a toy, functional sculpture, or a three-dimensional image, then the project is carved in the round.
Carving In The Round Vs. Relief Carving
The two main types of wood carving are carving in the round and relief carving. Whittling and engraving are aspects of carving that can be used in both these carving types. The table below compares the art of carving in the round with that of carving on a flat panel.
| Differences | Carving in the round | Carving on a flat panel |
|---|---|---|
| Definition | Carving a wood block or piece from all four sides to produce a three-dimensional sculpture. | Carving a flat wood panel to create raised or engraved two-dimensional images. |
| Most used carving practice | Whittling and Rounding | Engraving and Whittling |
| Strongest point | Can be observed from any point | It is more detailed and easy to install |
| Weakest point | It requires more whittling effort | It requires a lot more detail and precise carving |
| Observability | Three-dimensional. The sculpture can be viewed from all sides | Two-dimensional. The sculpture can be viewed from above only. |
| Projects | Sculptures | Panel art |
Now that you understand how carving in the round differs from engraving and etching on a flat panel, you can tell that there are a few tools that might be more useful when making a sculpture in the round.
The tools that can remove minor wood chips from flat panels are more often used in relief carving. See more on Incised carving here.
What Tools Are Required For Carving In The Round?
If a gouge or a scoop is used to dig a round ditch in a wood block, it is not considered to be carved in the round.
Again, the roundness of the project doesn’t dictate whether or not it has been carved in the round. The etching/carving work being done on all sides does. And for that, you can use classic carving tools.
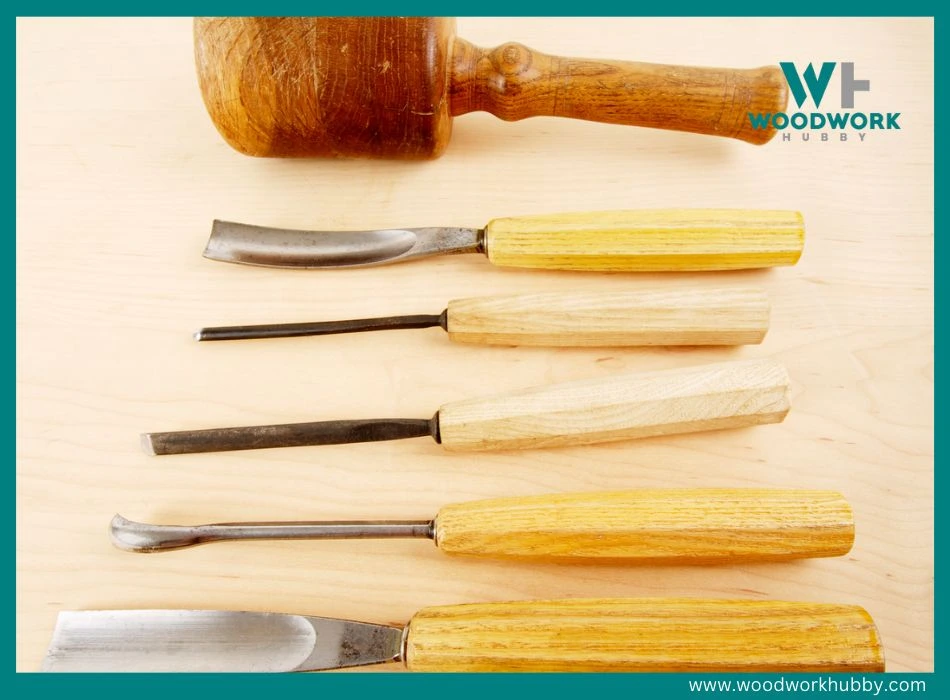
Tools used most often for carving in the round include:
- A roughing gouge – A roughing gouge like IMOTECHOM Roughing Gouge can be used to shave curved lines out of wood. The roughing gouge is an important tool in a carver’s arsenal but is necessary only when one begins carving in the round. Basic flat etchings are possible with straight blades too.
- Surform tool – A surform tool can act as a smoothening solution for curved wood. Its curved blade allows one to strip wood in a perfect curve and in nominal volume.
- A carving mallet – A mallet can be used to lodge carving blades deeper into the wood. It is a good option to have when you’re looking to carve in the round using harder wood types. The Narex Carving Mallet is lauded for being great for carving in the round. It has a round shape that allows angular impact for minimal chiseling where required.
- A carving knife – A carving knife like Flexcut Roughing Knife is a helpful tool for basic and advanced carving. It can be used to make straight cuts and slightly curved rough cuts, which can then be rounded with curved blades. While there are many carving knives on the market, Flexcut is among the best, as is evident from its having over 222 verified customer reviews and ratings.
- Carving chisel – Finally, the carving chisel is helpful in making straight cuts in hardwood. It is quite precise and relies on hind impact to venture deep into the wood. The Buck Brothers Chisel Set Has a 4.8-star rating from a global average of 4.8 reviews and ratings. That’s a broad enough sample size to vouch for its quality.
How To Carve In The Round?
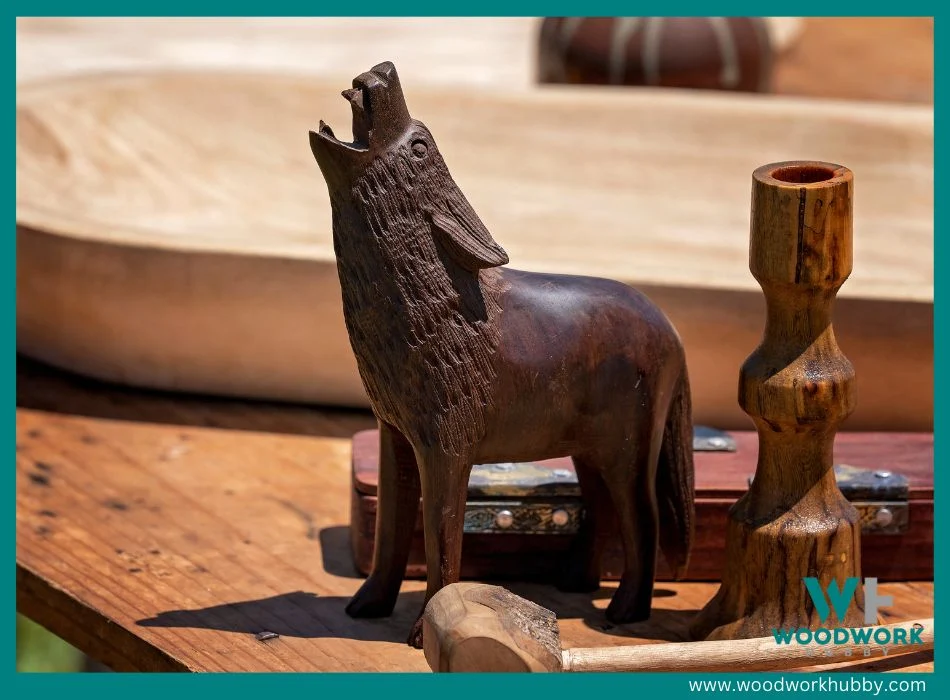
Carving in the round requires straight chiseling and whittling from all sides, followed by rounding and detailing. The process is the same as carving on a flat surface but is conducted across four faces of the wood block with the overall image in mind.
The process of carving in the round is easy but not simple. When you look at the process’s complexity, you might be overwhelmed. To carve in the round, you must follow the precise steps of making a three-dimensional carving. Below are the exact steps needed to carve in the round.
Start With An Initial Image Or Idea
Like every creative piece, a round carving begins with an idea. You can think of an image or an object that you want to carve. If you want to start off with a relatively easy idea, you can check out the project recommendations in the inspiration section. Once you know what you want to carve, you can proceed to the next step.
Sketch The Idea To Scale
After you select something to carve, you have to sketch it out to scale. This means your drawing must be of the same size as the project you want. If you want to carve a 4-foot-long bird, then you need to draw a bird that is 4 feet long.
Moreover, you need to make two drawings so that the front-facing and the side-facing profiles can be accurately roughed out.
Select The Wood For Carving
Once the sketch is completed, you have to proceed to the next stage, which is wood selection. Yes, wood selection depends on the project, and you cannot just carve any project onto any piece of wood.
If you assume that any wood that can be carved can be shaped into any project, check out my article on whether Cedar can be used for carving. It proves that some wood types are best for very specific purposes.
When selecting wood for carving, you must consider the following:
- Scale – The piece of wood should ideally be the same size as the carving. It can be bigger too, but if it is smaller, then there will be problems in carving it.
- Hardness – The wood you choose to carve must be soft enough to be cut with the tools you use for the carving.
- Grain pattern – If your project is meant to have intricate details, then you should use wood that has a tight or closed grain. Generally, straight-grained wood is easier to carve predictably.
Rough Out The Wood
Once you have selected the wood and have the scale sketches, you can proceed to the roughing process. For it, you need to pin or translate the drawing to the wood block and cut broad outlines to form a rough shape that you can work with.
Roughing is the process of creating a thick three-dimensional cutting of the sketch on the wood.
Model The Roughed-Out Piece
Modeling is when the two-dimensional cutting begins to take the shape of a model. This involves curved etching but mostly angular whittling and side-cutting to form something other than a thick two-dimensional cutout. This step fuses into the detailing step for most carvers but is best recognized as a separate one.
Etch Out The Details
Once you’ve sufficiently modeled the piece and are satisfied with its dimensionality, you can proceed to add details to the carving. For this, you have to begin using the finer tools in your possession.
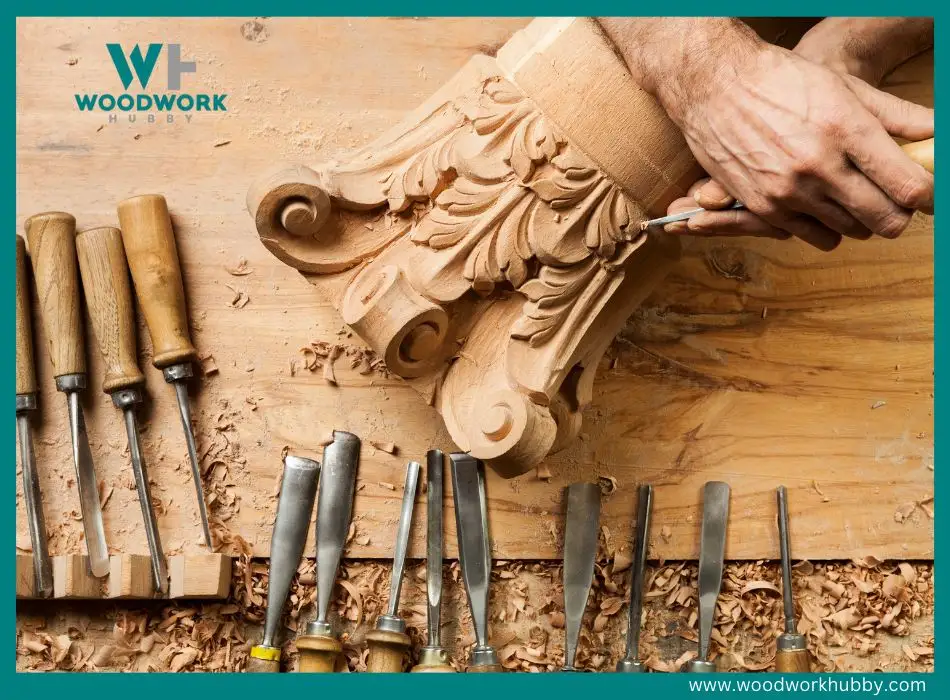
This is also the step where some of the corners are rounded out to make the model even more representational. Because the carver moves between shaping and detailing, it is harder to distinguish the two when observing the process from the outside.
Finish The Project
The final step in carving in the round is finishing the project. If you have a background in woodworking, you can tell that finishing in this context doesn’t mean completing. It actually refers to the process of applying a finish or smoothening the project, so it has a finished feel.
The process of carving in the round is a time-consuming one, but if you take one step at a time and focus on executing each one properly, you will end up with a sculpture in the round that you’re proud of. But try not to start off with a project that is too hard.
Simpler projects can help you feel like you’re making progress, and each progressive piece can give you the motivation to keep practicing. To build upward momentum when learning how to carve, you should have the right project inspiration.
Carving In The Round Inspiration – 9 Beginner Projects To Get You Started
As mentioned earlier, you need to start off with simple and easy projects so that your progress can motivate you to keep learning and progressing. In this section, I cover 9 projects from the easiest to the hardest within the beginner-project category.
All of these projects are for new wood carvers, but you must start with the first one and move to the last one so your skills can progressively develop.
For a full detailed list, see my article showing beginner wood carving projects.
1. Spoon: An Almost-In-The-Round Carving
Spoon carving is so simple that it is unfair to even consider a spoon carving in the round. Still, it isn’t a turned object or a relief carving and does meet the technical criteria of sculpture in the round.
This project will train your initial carving instincts and make you better at cutting precise pieces from a block of wood. See what is the best wood for spoon carving here.
A video showing how to carve a spoon.
2. Heart: Exercise Your Modeling Muscle
A heart carving can be an endearing gift or a home decor piece. The goal of carving a heart for an aspiring carver is to get better at turning thick roughouts into thoroughly modeled projects.
A video showing how to hand carve a heart.
3. Cane: Engage In Vertical Modeling
Where the heart project makes you good at modeling around a somewhat-circular object, a cane makes you do the same for a long project. With this, you can also get pretty good at round-shaving, which is a very good skill.
4. Whiskey Barrel: Get Better At Rounding
Rounding is a very useful skill often required to create curves in a sculpture. Whiskey barrels don’t require a lot of details but need excellent shaving around the block. By making whiskey barrels, your carvings in the round will be more “round.”
5. Flower: Detailing Is Up To Your Preference
After you have gotten better at modeling and carving curves, you can proceed to improve the details-etching aspect of your carvings. A flower is a great project idea at this stage, as you can choose to add the level of detail that you want.
6. Bunny: Combine Modeling With Nominal Details
A bunny combines details and modeling, so when you start whittling rabbits, you exercise both your shaping and detailing skills. You can replace the bunny with pretty much any mammal and exercise the same muscles. Foxes and elephants are often used at this stage.
A video showing how to whittle a cute bunny.
7. Owl: Lean Further Into Details
An owl is a little more detailed project compared to broadly-carved mammals. You can choose to add as much detail as possible to the owl, so it is something you can finish, no matter how confident you are with your detailing skills.
8. Wizard: More Detail And Modeling
A project that is slightly more challenging than an average owl is the wood wizard. Wood wizards and gnomes fall into the fantasy carving category. They require detailing and curve-shaving and are better crafted by those who have a decent grasp of these skills.
9. Caricature: Have Fun And Get Better At Finishing
By the time you can produce fantasy carvings, you’re pretty close to being an intermediate woodworker. Caricature carving is the best way to transition from beginner carvings to intermediate carvings. Even though you can add sufficient details o any beginner wood carving to turn it into a medium-tier carving, caricature carving is the most fun to actually execute.
Final Thoughts – Carving In The Round
Carving in the round is required for making three-dimensional figures with carving methods like whittling and shaving. If you follow the sketch-cut-carve-finish model covered in the post above, it is only a matter of time before you get really good at carving wood in three dimensions.
With this skill, you can create decor pieces, large-scale works, and even small toys.

