I’ve been woodworking for a while now, and I love it. I especially love the look of a nice, glossy finish. A few months ago, I decided to try shellac and see how it would work. I wasn’t sure how long shellac would take to dry, so this is my result after I did this with my projects.
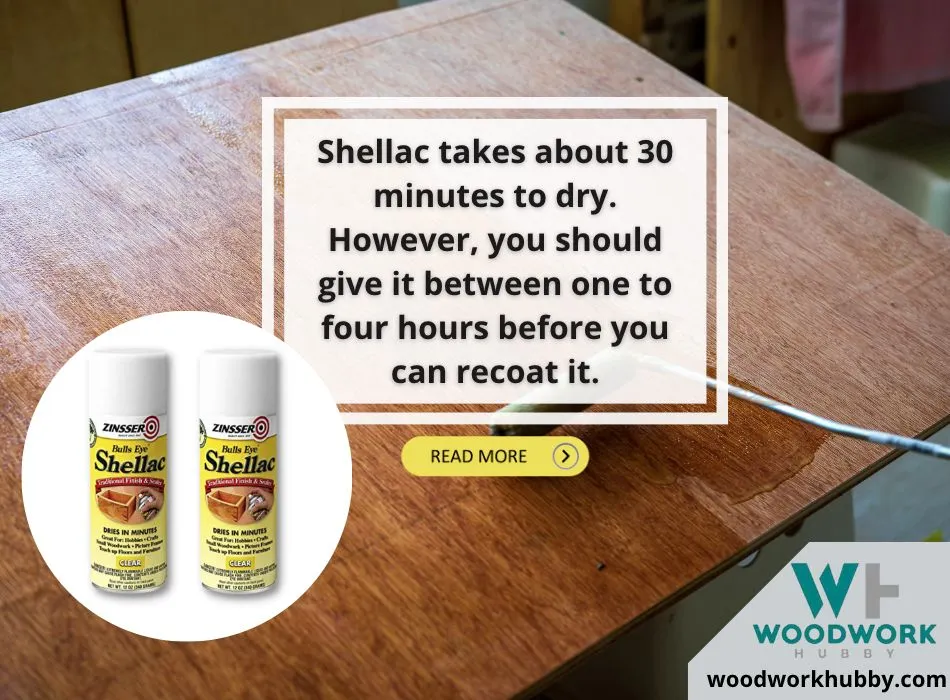
Shellac takes about 30 minutes to dry. However, you should give it between 1 – 4 hours before you can recoat it. This will ensure that the shellac has hardened properly.
In this blog post, I will share my experience with you and tell you how long it took for the shellac to dry and harden.
How Long Does Shellac Take to Fully Harden?
Whether you spray, brush, or wipe on the shellac, it will take about 30 minutes to dry. However, you should wait for one to four hours before recoating it. This will give it enough time to harden properly.
If you don’t wait long enough before recoating, the new layer of shellac will not adhere well to the old layer, and it will start to peel off.
I usually give my projects three to four hours before I add a new coat of shellac. This gives the shellac plenty of time to harden and creates a strong bond between the layers.
How Long Does Shellac Dry Before Buffing?
You can buff shellac after it dries for about three to six days. Buffing creates heat that can soften the shellac, so you must wait for it to harden completely before buffing. If you buff too soon, the shellac will start to come off in streaks, which will be difficult to fix.
How Can I Get My Shellac to Dry Faster?
The main way you can get your shellac to dry faster is by mixing it with denatured alcohol. This will help the shellac to evaporate quickly and dry faster.
Other methods of getting your shellac to dry quickly include:
Use a Hair Dryer
A hairdryer on the cool setting can help speed up shellac drying time. Hold the hairdryer about eight inches away from the surface and move it around constantly.
Use a Dehumidifier
If you have a dehumidifier, you can use it to dry your shellac faster. Turn the dehumidifier on and place it near your project. The dry air will help to evaporate the shellac quickly.
Use a Fan
A fan can also help to speed up the drying time of shellac. Turn on a fan and point it at your project. The moving air will help to evaporate the shellac quickly.
Turn Up the Temperature in the Room
If you can turn up the temperature in the room, this will also help shellac to dry faster. The warmer the air, the quicker shellac will evaporate.
Does Shellac Dry on Its Own?
Shellac will eventually dry on its own, but it will take much longer than if you use one of the methods above. If you can, try to speed up the drying time so that your project is not left uncovered for too long.
Why is My Shellac Still Sticky?
Shellac has a shelf life. When your shellac is old, it can become sticky and will not dry properly. If you think this might be the problem, try using a new can of shellac.
Other reasons include the following:
Not Enough Thinning
When you mix shellac with denatured alcohol, you need to use the correct ratio. If you don’t use enough alcohol, the shellac will be too thick and will not dry properly.
Too Much Thinning
If you use too much alcohol, the shellac will be too thin and not provide a good finish. It will also take longer to dry.
Not Enough Ventilation
Ventilation is a very important part of the shellac drying process. If your room lacks ventilation, the shellac will take longer to dry.
Drying Time Varies by Manufacturer
Different manufacturers will have different drying times for their shellac. Be sure to read the instructions on the can before starting your project to know how long it should take for the shellac to dry.
Improper Application
You need to make sure that you apply the shellac evenly and smoothly. If you don’t, it will take longer to dry and not provide a good finish.
Does Shellac Dry Solid Hard?
Shellac does not dry solid hard. When you apply a new layer of shellac, it will partially dissolve the old layer. This gives shellac its unique properties and makes it different from other finishes.
Shellac dries hard enough to provide a good finish, but it is not as hard as polyurethane or varnish.
What Factors Influence Shellac Drying Time?
The temperature is very important when it comes to shellac drying time. If it is too cold, the shellac will take longer to dry. If it is too hot, the shellac could start to soften and come off in streaks.
The manufacturer always recommends the ideal temperature for drying shellac. Be sure to follow their instructions so that you get the best results.
Humidity can also influence the drying time of shellac. Take note that shellac dries by evaporation; therefore, high humidity can prevent shellac from drying properly. If the humidity is too high, you can use a dehumidifier to help remove some moisture from the air.
See more on this in my article on how long does stain take to dry.
What is the Fastest Drying Shellac?
I would recommend Rust-Oleum 408A3 spray Bulls Eye Shellac. This type of shellac has the following advantages:
Ease of Use
The biggest advantage of this shellac is that it is very easy to use. You just need to shake the can and then start spraying. There is no need to mix or thin the shellac.
Sheerness
According to Amazon reviews, this shellac dries very clearly with no amber tint.
Durability
Rust-Oleum 408A3 is a very durable shellac. It can withstand household cleaners and hot beverages.
Fast Drying Time
This shellac dries very quickly. You will be able to sand and recoat within 45 minutes.
Good Finish
This shellac also provides a good finish similar to what you would get with traditional shellac.
Can You Heat Shellac to Speed Up the Drying Process?
If you need to speed up the drying process, you can use a hairdryer in its cool setting. Hold it about 6 inches from the surface and move it around so that the air is evenly distributed.
How Long to Leave Shellac Before Sanding?
You should wait at least 1 hour before sanding your shellac finish. This will give the shellac plenty of time to harden and cure. If you sand too soon, you could end up with a rough finish.
What is the Best Way to Apply Shellac?
There are several ways that you can apply shellac.
Step One: Prepare Your Work Area
Use coarse grit sandpaper to sand down the surface to which you will be applying the shellac. This will help to create a smooth surface for the shellac to adhere to. Wipe down the surface with a clean cloth to remove any dust.
Step Two: Pour the Shellac into a Bucket
You should avoid using the can that the shellac came in because this can introduce dust and other contaminants into the shellac. Pour the amount of shellac that you need into a bucket.
Step Three: Thin the Shellac (Optional)
If you use a brush or pad to apply the shellac, you will need to thin it first. To thin the shellac, add 2 parts denatured alcohol for every 1-part shellac. Stir the mixture until it is combined.
Step Four: Apply the Shellac
If you are using a brush:
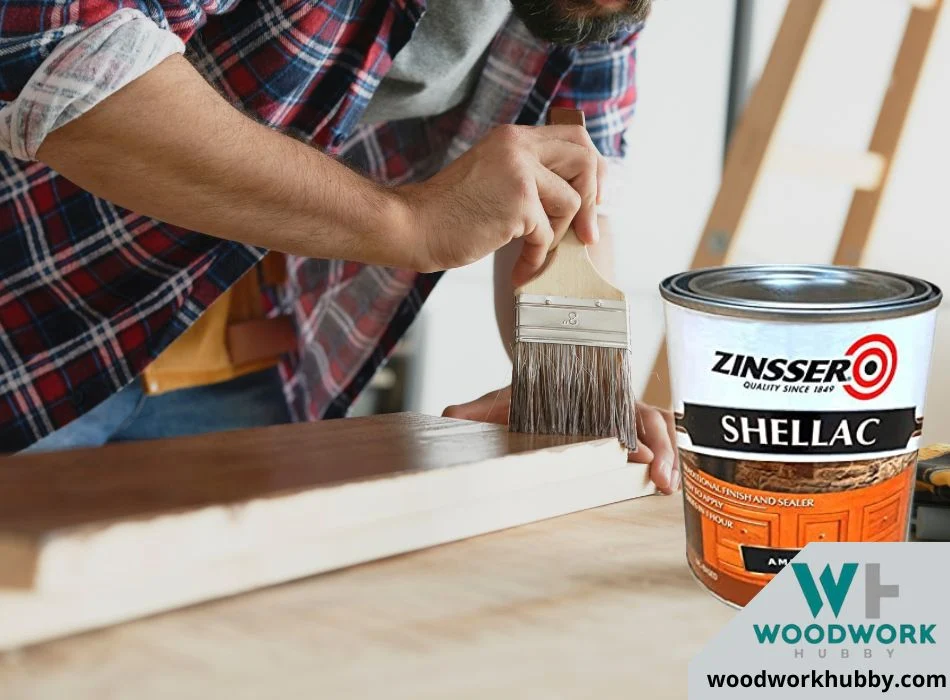
Dip the brush into the bucket of shellac. Make sure you only load the brush with as much shellac as you can in one stroke.
Use even strokes and avoid going over the same area multiple times. This will help to avoid any bubbles in the finish.
If you are using a pad:
Dip the pad into the bucket of shellac. Make sure you only load the pad with as much shellac as you can in one stroke.
Start at one end of the surface and wipe the pad across the surface in a single stroke. Move to the other end and repeat.
If you are using a spray gun:
Hold the spray gun about 6 inches away from the surface. Pull the trigger and move the gun across the surface in a single stroke.
If you are using a spray can:
Hold the spray can about 6 inches away from the surface. Push down on the nozzle and move the can across the surface in a single stroke.
Step Five: Allow the Shellac to Dry
After you have applied the shellac, let it dry for at least an hour. This will give the shellac plenty of time to harden.
To create a smooth finish, you can then sand the surface with a fine-grit sandpaper. Wipe down the surface with a clean cloth before applying the second coat of shellac, if desired.
How to Apply Shellac to Ensure It Dries and Hardens Properly
Here is a step-by-step guide on how to apply shellac so that it dries and hardens properly:
A video showing the step-by-step guide on how to apply shellac so that it dries and hardens properly.
What is the Difference Between Shellac and Polyurethane?
Shellac and polyurethane are clear finishes used to protect the wood. They are both durable and long-lasting, but there are some key differences between the two:
Here is a table showing the key differences between shellac and polyurethane.
| Differences | Shellac | Polyurethane |
|---|---|---|
| Common uses | Cosmetics, food coatings and dentistry | Protective coat for furniture, countertops, cabinets, decking, trims and wooden floors |
| Colors | Medium brown, yellow, gold, orange, amber and blonde | Has no distinct color |
| Sheen levels | Creates a high or semi-gloss sheen | Has a variety of sheen levels like mid-gloss, matte, satin and lustrous |
| Drying time | 30 minutes | 2 hours |
Final Thoughts – How long does Shellac take to dry
Shellac is a great option for protecting the wood. It is durable and long-lasting, and it dries within 30 minutes to an hour. However, it is important to apply the shellac properly in order to ensure that it dries and hardens properly.
Use a brush or pad to apply the shellac in even strokes, and let it dry for at least an hour before sanding the surface smooth. I hope this article was helpful! Thanks for reading.

