I remember the first time I used linseed oil. The tabletop was covered and looked beautiful right away, and the oil hadn’t even dried yet. Then a few days passed, and the oil remained wet and sticky. After a week of waiting and finding the oil still sticky and wet, I decided to find a solution. Here’s what I learned.
In general, sticky linseed oil is not drying because it has been applied too thick. For linseed oil to dry properly, the layer thickness should be minimal, and the finish must cure in hot, dry weather. In the absence of these, the oil can take longer to dry and might remain perpetually sticky.
In this article, you will discover how I fixed the sticky linseed oil finish and what you can do to avoid the same situation again. You’ll also learn the specific factors that make the oil less likely to dry and what you can do to offset them. As long as you follow the advice in this post, you’ll not be stuck with a sticky finish ever again.
How Do You Fix Sticky Linseed Oil?
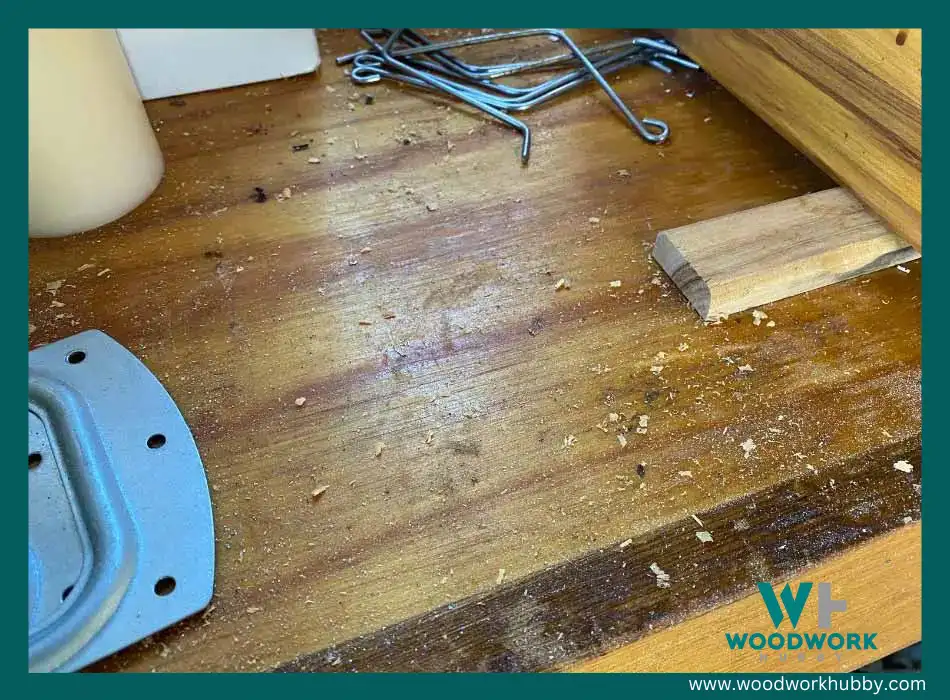
In general, the coat of sticky linseed oil needs to be removed with mineral spirits, then a thinner coat with emphasis on soaking and wiping before the surface sits in the open for curing. This process can take a few days.
To simplify the process of eliminating the gooey feeling of thick linseed oil application, I have broken down the solution into easy steps that also have alternatives.
This video, alongside the steps listed below, sheds light on how you can remove linseed oil.
Video on how to remove sticky linseed oil
Understand the Cause of Stickiness
The first step in reversing the sticky finish is knowing why linseed oil is not drying. As mentioned earlier, this is usually because the oil is laid too thick. The lower layer of the oil isn’t exposed to sunlight and hence fails to cure.
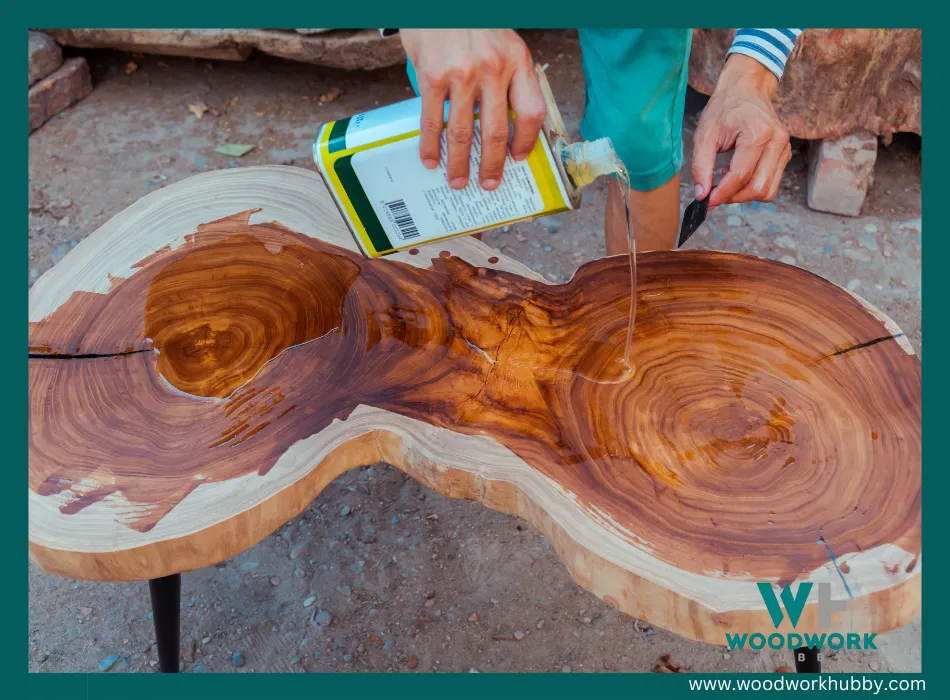
Knowing this, you can deduce that your next step is to thin or remove a portion of the linseed oil layer. Thinning isn’t a feasible solution because the finish doesn’t get removed evenly.
Remove the Linseed Oil
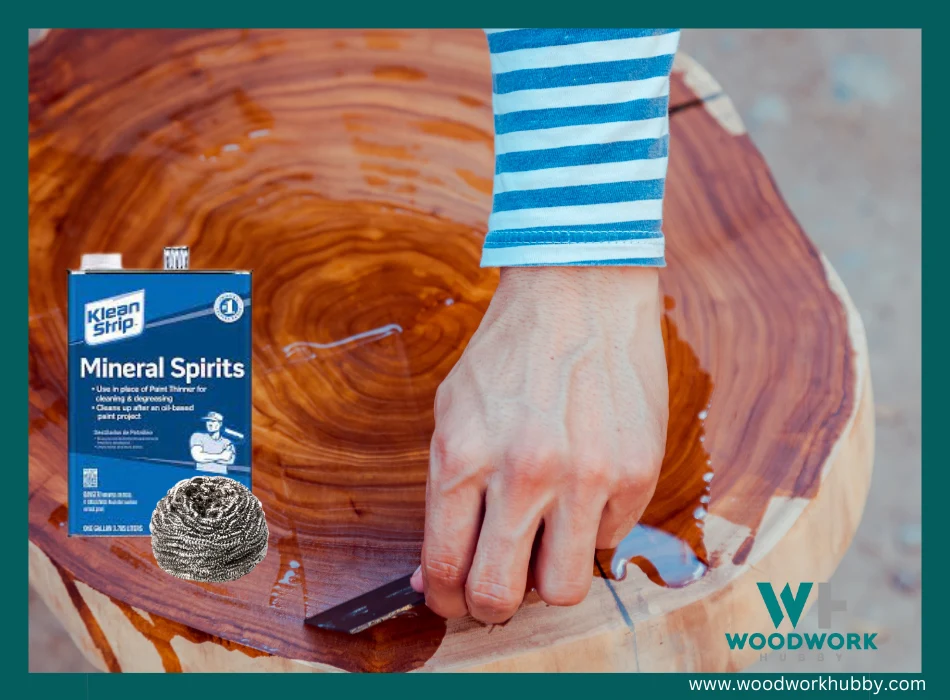
I use mineral spirits and steel wool to remove excess semi-cured linseed oil, but you can use any alternative. As long as the thick layer is erased from the surface, it doesn’t matter what you use. You just need to be mindful of the surface beneath as well.
Recoat With Linseed Oil
Once the surface is free of linseed oil and dry again, you need to refinish it, albeit with better care. The best way to get a quick-drying finish while achieving the best durability and protection rating is to first saturate a surface in the oil, then rub the excess away.
As long as you can get rid of the extra oil while it is wet, erring on the side of using more oil is better. But if you fail to remove the excess oil, it will become a semi-dry mess once again.
Let the Linseed Oil Harden
The final step in achieving the best dry finish is to let the oil cure without interference. If you take the surface out of an exposed environment and take it in a damp or cold place within a few hours, it can take much longer to cure. But as long as the excess oil has been removed, the surface will eventually dry.
Don’t be in a hurry to apply multiple coats of linseed oil.
How Long Does It Take for Linseed Oil to Harden?
Linseed oil hardens in 2 weeks if it is raw and 3 days if it is boiled, as long as the application is thin. Thicker layers can take up to 10 weeks to dry, which is why many woodworkers conclude that their dry finish oil is sticky when in fact, it is slow drying.
Here are a few things you can do to promote quicker drying:
- Prefer boiled linseed oil over raw linseed oil – Boiled linseed oil has thinners that promote quick drying, which leads to the finish retaining its admirable characteristics without having a long drying time.
- Do not lay it on too thick – Linseed oil’s strength is that it seeps into the wood and then dries up. Creating a thick layer above the surface doesn’t lend it extra durability. That’s why you should limit the linseed oil layer above the surface to the minimum viable thickness.
- Cure it in a high-temperature environment – Above all, you need to have the right environment to dry linseed oil. If the air is too humid or the weather is too cold, you cannot expect the oil to dry within a few days.
Why Is Linseed Oil Not Drying?
Linseed oil refuses to dry if it is not in a warm enough environment or is applied too thick on a surface that doesn’t get hot. When the lower layer of the oil is trapped at a mild temperature, it doesn’t provide enough anchoring for the top layer to be rigid and dry.
When this happens, the surface is slightly dry, but the soil underneath is wet. The above layer shifts as you touch it, giving the gooey feeling. As a consequence, the linseed oil doesn’t dry and becomes sticky instead.
If the top layer is wet, then the problem could be with the temperature or humidity. In most cases switching to a quick-drying variety of boiled linseed oil can ensure that the surface doesn’t feel wet after a long enough period.
In some cases, you might believe that the oil is not drying when in reality, it is simply taking its standard time to cure. Linseed oil can take notoriously long to dry, and if you’re used to working with a quick-drying coat like Danish oil, which takes 6 hours at maximum to cure, you might think that a relatively fresh coat of linseed oil is making no progress.
As mentioned earlier, waiting 72 hours for the oil to dry is normal, and in some cases, you might have to wait for weeks. If you cannot afford to let your project sit for that long, here are some quick-drying alternatives.
How Do You Remove Sticky Linseed Oil From Wood?
You remove sticky linseed oil from wood with mineral spirit and steel wool. The process is started by dry wiping the surface to remove any oil that comes off without a dissolving solution. Once the surface is left with stubborn oil only, the mineral spirit is used for efficient removal.
Follow the steps in this video.
Video showing how to remove sticky oil
Removing the oil is better than trying to fix the linseed oil coat with a new application right away. However, the process can end up being surprisingly complicated, which is why the following best practices can help:
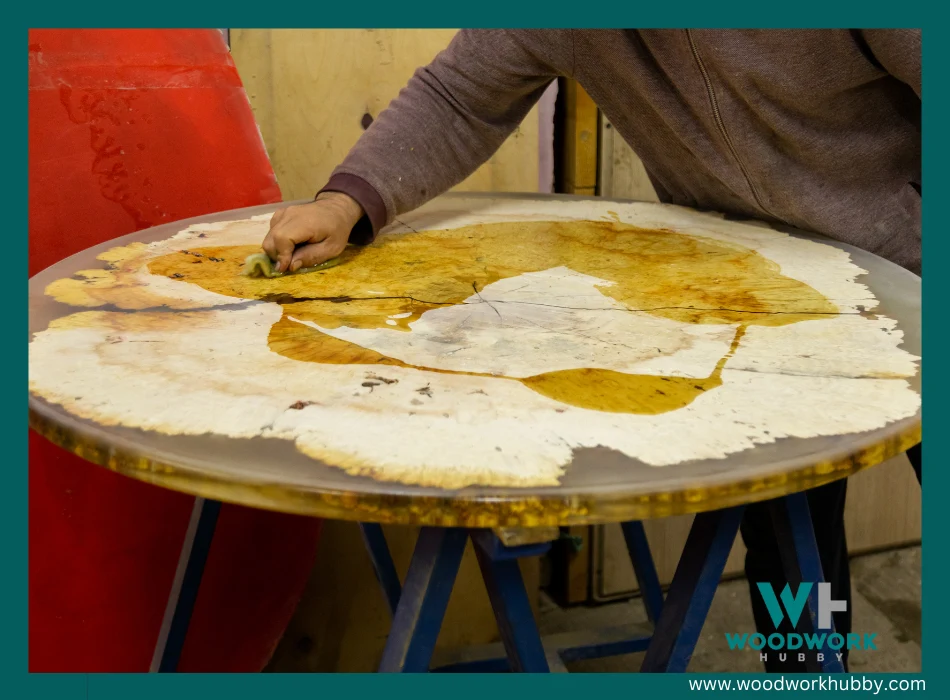
- Wait at least 15 minutes after applying a mineral spirit – If you wipe it away prematurely, the spirit doesn’t get time to do its job and is wasted.
- Use coarse steel wool – It might seem like fine wood would work better, but coarse steel wool gives you the leverage you need to get underneath the top layer and wipe away move linseed oil per pass.
- Be patient – Finally, remember to be patient because any haste can lead to uneven finish removal. In some instances, vigorous rubbing can scratch the wood underneath, especially when the surface is made of softwood.
Final Thoughts – Will Sticky Linseed Oil Eventually Dry
Sticky linseed oil is a nightmare for most amateur and professional woodworkers to go through at least once. In my experience, the best way to fix it is to go back to square one remove the finish, and reapply linseed oil much thinner.
Once the linseed oil is removed, I recommend soaking the surface in a fresh batch of oil and then using a rag to wipe the excess off while the surface is wet.


