Is your front door looking a little dull and in need of a refresh? I can relate as my own front entrance was crying out for some TLC, so I researched all about staining front doors.
Combined with my 30 years of woodworking and wood finishing experience I decided to guide you through the entire process of staining your front door, from selecting the stain to the final finish.
Key Takeaways
- Gel stain is a good option for updating front doors, and it can be used on wood, metal, and fiberglass surfaces.
- Before staining a wood front door with gel stain, it’s important to clean the door thoroughly and sand it to remove any old finish or imperfections.
- When applying gel stain to the door, make sure to follow the natural grain of the wood for an even finish and remove any excess stain before letting it dry completely.
- To protect the stained wood and ensure its longevity, apply a protective topcoat specifically designed for exterior use.
What is Gel Stain and Can it be Used on Exterior Doors?
Gel stain is a good tool for updating doors. You can use it on many kinds of doors, even metal or fiberglass ones. The stain gives the door a look just like real wood. But one company, General Finishes, says you should not use their gel stain outside.
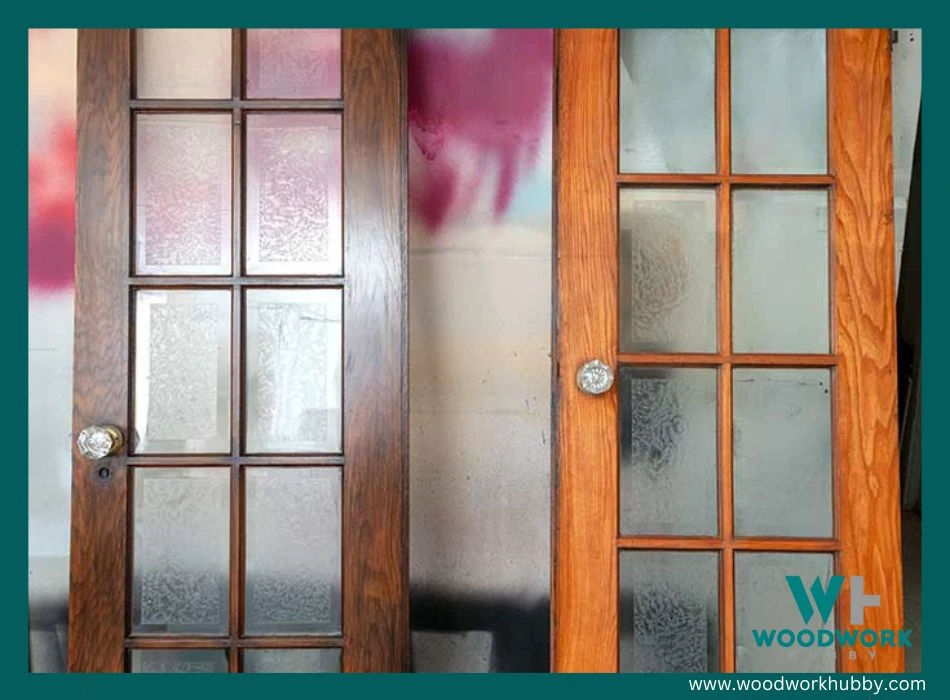
Still, many people have used gel stain on outdoor doors with great results. It makes your door look new and pretty fast! If you want to try this yourself, some good tools to use are Old Masters Ascend Exterior Top Coat and Old Masters Gel Stain.
They work well on wooden exterior doors and give an impressive finish.
How to Restain a Wood Front Door with Gel Stain
To restain a wood front door with gel stain, start by cleaning the door and sanding it to remove any old finish or imperfections. Then, apply the gel stain in even strokes, making sure to cover the entire surface of the door.
Remove any excess stain and repeat the process if desired. Finish by applying a protective topcoat to seal and enhance the stained wood.
STEP ONE: Clean the Door
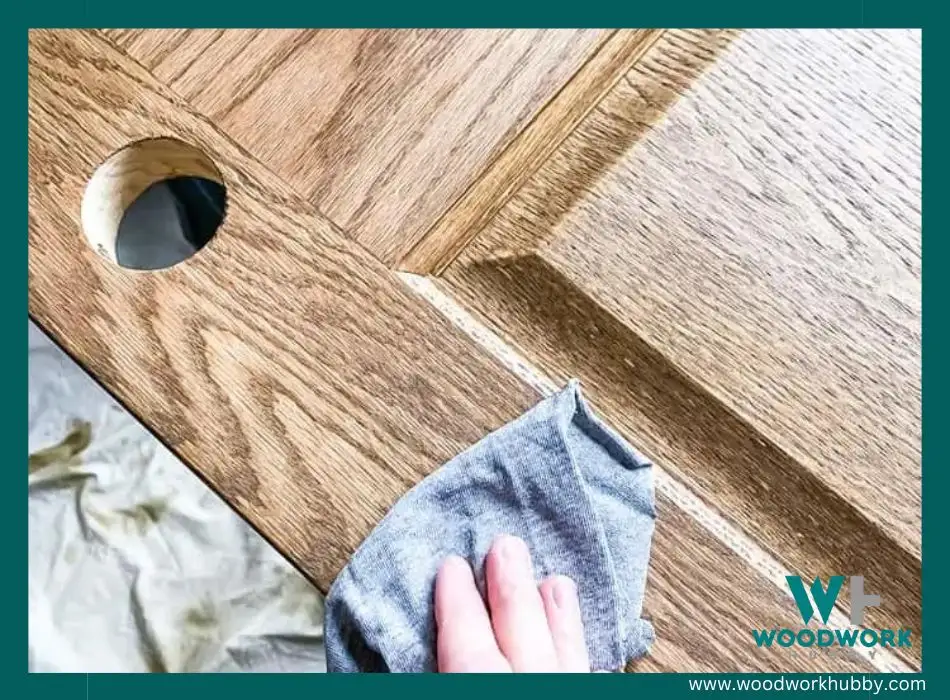
First, I make sure to clean the door. Here are the steps I follow:
- Take a soft cloth to wipe off any dust or cobwebs.
- Next, I mix warm water with mild soap in a bucket.
- Using this soapy mixture, I scrub the door gently.
- After scrubbing, I rinse the door with clean water.
- Once rinsed, I dry the door using another clean, soft cloth.
- Sometimes, tough stains don’t go away with water and soap. For those stains, I use vinegar or a mix of vinegar and water.
- After cleaning with vinegar, I rinse and dry the door again.
STEP TWO: Sand the Door
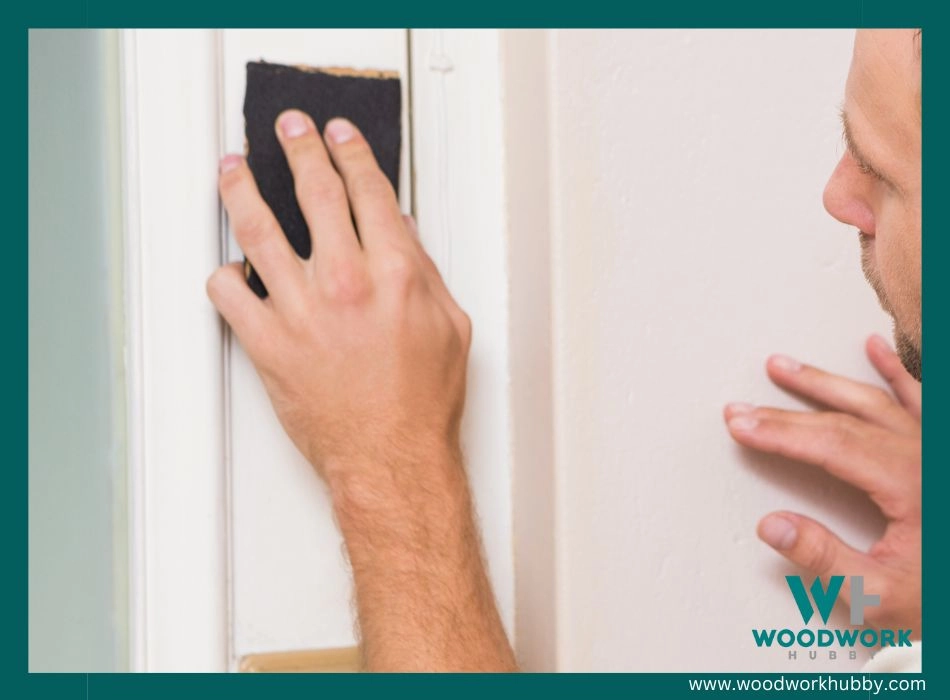
Sanding a door is a key step in staining a front door. Here are some tips to get it right:
- Choose the right type of sandpaper. Not all types will work well for this job.
- Start by taking off any old sealer on the door. This will make the stain stick better to the wood.
- Use gentle, even strokes with the sandpaper. You don’t want to scratch or damage the wood.
- Make sure you sand all parts of the door. Don’t miss any spots!
- Clean up all dust from sanding before moving on. Any leftover dust can muddle your stain.
STEP THREE: Apply Gel Stain to the Door
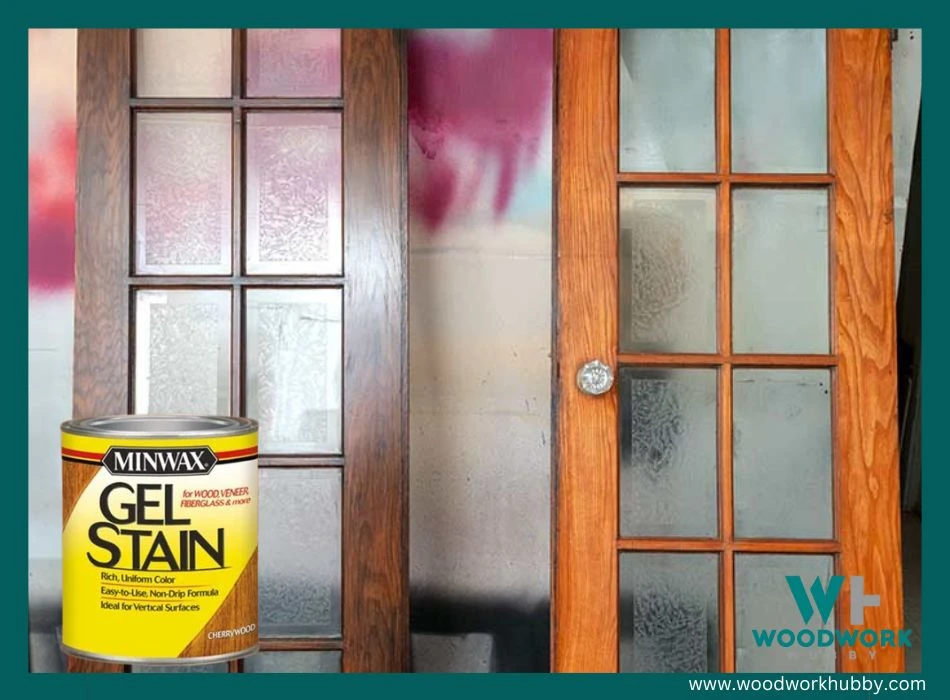
Now it’s time to apply the gel stain to your front door. Here’s what you need to do:
- Begin by stirring the gel stain well to ensure a smooth and consistent application.
- Using a clean, lint – free cloth or brush, apply a generous coat of gel stain to the door, working in small sections at a time.
- Make sure to follow the natural grain of the wood while applying the stain for an even finish.
- As you apply the gel stain, be careful not to let it pool or drip on the door.
- Continue applying the gel stain until the entire surface of the door is covered.
- If you’re staining multiple doors, make sure to maintain a wet edge as you work to prevent any visible lines or unevenness in color.
- Once applied, let the gel stain sit on the door for about 5 – 10 minutes, or as recommended by the manufacturer.
- After the recommended wait time, use a clean cloth to wipe off any excess gel stain from the door.
- Be thorough in removing all excess stain to achieve an even and professional-looking finish.
- Allow your front door to dry completely before moving on to the next step.
- Gel stain can be used on both wood and metal surfaces for staining and refinishing purposes.
STEP FOUR: Remove Excess Gel Stain
To restain a wood front door with gel stain, it’s important to remove any excess gel stain from the door’s surface. Here are the steps that I follow:
- Sand the door using sandpaper or a sanding block. This will help remove the protective sealer and any excess gel stain.
- Use a clean cloth or brush to wipe away the dust and particles that result from sanding.
- Inspect the door for any remaining excess gel stain. If you notice areas where there is still excess stain, lightly sand those areas again until they are smooth.
- Wipe down the door once more with a clean cloth to ensure all debris and dust are removed.
STEP FIVE: Repeat the Gel Stain Process
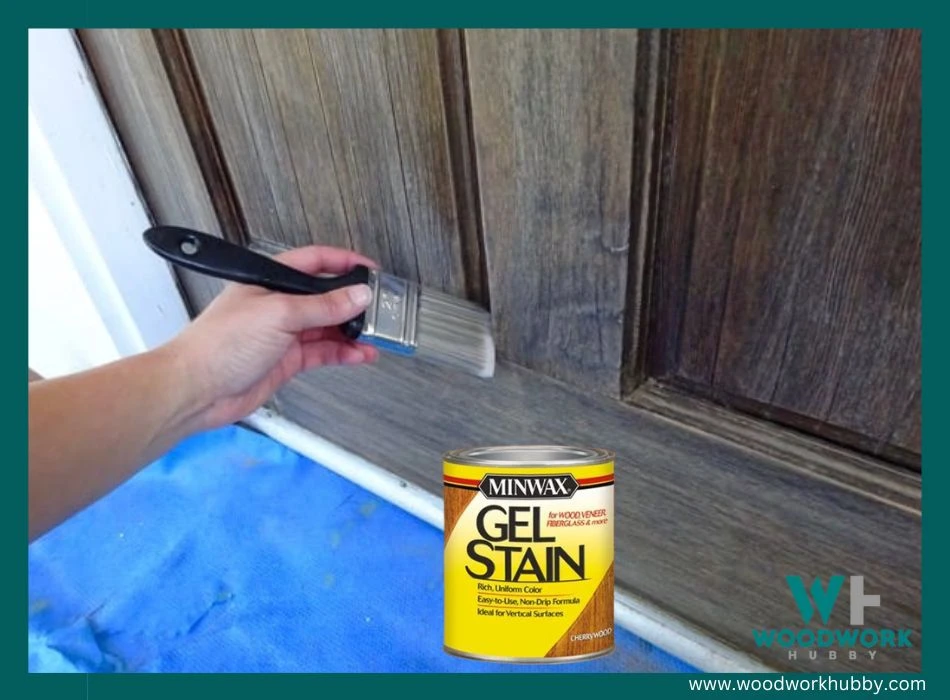
To repeat the gel stain process, follow these steps:
- Apply another coat of gel stain to the wood front door.
- Use a brush or rag to evenly spread the gel stain over the surface.
- Make sure to cover all areas and corners of the door.
- Allow the gel stain to dry completely, following the manufacturer’s instructions.
- Inspect the door after it has dried to see if you are satisfied with the color and finish.
- If desired, apply additional coats of gel stain for a darker or more intense color.
- Repeat this process until you achieve your desired look and coverage.
STEP SIX: Apply Protective Topcoat
To protect the stained wood and ensure its longevity, it is important to apply a protective topcoat. The topcoat acts as a barrier, shielding the door from damage caused by sunlight, moisture, and general wear and tear. Here are some key tips for applying the protective topcoat:
- Choose the right product: Look for a top coat specifically designed for exterior use. Old Masters Ascend Exterior Top Coat is a highly recommended option.
- Read the label: Before applying the topcoat, carefully read the instructions on the product label. This will ensure proper usage and help you achieve the best results.
- Prepare the surface: Make sure the door is clean and dry before applying the topcoat. Remove any dust or debris that may have accumulated during the staining process.
- Apply evenly: Use a brush or roller to apply an even layer of protective topcoat over the entire surface of the door. Pay special attention to areas that are more exposed to sunlight or moisture.
- Allow proper drying time: Follow the manufacturer’s instructions for drying time between coats and overall curing time. This will ensure that the protective finish fully adheres to the wood surface.
Best Practices for Staining Front Doors
Choosing the right stain color, properly applying the stain, and allowing the door to air dry are just a few of the essential steps for achieving a beautifully stained front door. Keep reading to learn all the best practices for staining front doors!
See what I wrote about the best primer for painting over stained wood.
Choosing the right stain color
When selecting the stain color for your front door, it’s important to consider personal preferences and the overall look of your home. Popular options include mahogany, cherry, walnut, and oak.
Remember that you can customize the standard stain colors to match any color you desire. However, avoid using dark opaque colors like black as they may void the warranty and damage the wood.
Ultimately, choose a stain color that enhances the natural beauty of your front door while complementing the aesthetic of your home.
Removing the door from the frame
To stain a front door properly, it may be necessary to remove the door from its frame. This allows for better access and ensures that the staining process is thorough. Here are the steps to follow when removing the door:
- Begin by unscrewing and removing the lockset and other hardware connected to the door. This prevents them from getting stained during the process.
- Next, check if there are any screws or nails holding the casing or trim on the sides of the frame. If so, carefully remove them using a screwdriver or hammer.
- Gently pull or pry away the casing or trim from both sides of the frame. Take your time to avoid causing any damage to the surrounding areas.
- Once you have removed all the necessary trim, you should be able to easily lift and remove the door from its hinges.
Sanding the door
Sanding the door is an important step in staining front doors. It helps prepare the surface for a new stain to adhere properly. Here are some key points to keep in mind when sanding the door:
- Scuff sand the surface of the door using fine – grit sandpaper.
- Sand in the direction of the wood grain to avoid damaging the door.
- Pay extra attention to areas with existing finish or rough spots.
- Remove any dust or debris from the surface after sanding.
- Use a tack cloth or damp cloth to wipe down the door before applying stain.
Properly applying the stain
When staining your front door, it’s important to apply the stain properly. Here are some tips to help you achieve a beautiful finish:
- Start by cleaning the door thoroughly to remove any dirt or debris. You can use a mild soap and water solution or a wood cleaner specifically designed for this purpose.
- Before applying the stain, make sure to sand the door lightly. This will help the stain penetrate the wood evenly and provide a smooth finish. Use a 120-grit sandpaper and be sure to sand with the grain of the wood.
- When applying the stain, use a clean brush or rag and work in small sections at a time. Apply an even coat of stain, following the direction of the grain. Make sure to cover all surfaces of the door, including any crevices or corners.
- After applying the stain, remove any excess by wiping it gently with a clean cloth or rag. This will prevent blotching and ensure an even color.
- Depending on the desired shade, you may need to repeat the staining process once or twice more. Allow each coat to dry completely before applying another one.
- Once you’re satisfied with the color, it’s important to protect your stained front door by applying a topcoat or varnish. This will add an extra layer of durability and help preserve the finish.
Wiping down the door
To ensure a smooth and clean finish, wiping down the door is an important step in staining front doors. Here are some tips to follow:
- Use a clean, lint – free cloth or sponge dampened with mineral spirits or denatured alcohol.
- Gently wipe the entire surface of the door, paying attention to any areas where dust or debris may have collected.
- Wipe in long, even strokes, moving in the direction of the wood grain.
- Regularly change out the cloth or sponge as it becomes dirty to avoid spreading dirt or residue.
- Allow the door to air dry completely before proceeding with the staining process.
Allowing the door to air dry
Allowing the door to air dry is an important step in the process of restaining and refinishing a front door. It helps to ensure that the stain properly sets and dries onto the wood surface. Here are the steps involved in allowing the door to air dry:
- After applying the gel stain and removing any excess, leave the door in a well – ventilated area.
- Avoid placing the door in direct sunlight or near heaters, as this can cause uneven drying and potential damage to the wood.
- It is best to let the door air dry for at least 24 hours or as recommended by the manufacturer’s instructions.
- During this time, avoid touching or moving the door to prevent smudging or disrupting the drying process.
- Keep pets and children away from the area to ensure they do not accidentally touch or damage the wet stain.
Rehanging the door
After you have finished staining your front door, it’s time to rehang it. Here are the steps to follow:
- Place the door back in its frame.
- Align the hinges with their corresponding screws on the frame.
- Insert the hinge pins into the hinges to secure them.
- Check that the door is level and properly aligned within the frame.
- Tighten any loose screws on the hinges using a screwdriver.
- Test the door by opening and closing it to ensure smooth operation.
Maintenance Tips for Stained Front Doors
To keep stained front doors looking their best, regular maintenance is key. Here are some tips to help you maintain the appearance of your stained front door:.
1. Routine care and cleaning: Dusting and cleaning your stained front door regularly with a dry rag or dust brush will help remove any dirt or debris that can accumulate on the surface.
2. Enhance with wood polish: Using a wood polish can bring out the natural beauty of your stained door and give it a beautiful glow. Apply the wood polish according to the manufacturer’s instructions for best results.
3. Preparing new doors for staining: If you’re staining a new front door, make sure it is clean and free of lint before applying any stain. This will ensure that the stain adheres properly to the surface.
4. Use a wood conditioner: Applying a wood conditioner before staining can improve the overall finish and help achieve better results. Allow sufficient time (at least 20 minutes) for the wood conditioner to work its magic before proceeding with staining.
Remember, proper maintenance is key to keeping your stained front door looking great for years to come!
Common FAQs about Staining Front Doors
When it comes to staining front doors, a number of common questions often arise. To assist you, I’ve compiled a list of these frequently asked questions and provided the answers below.
| Question | Answer |
|---|---|
| Is it necessary to remove the old stain before restaining a door? | No, you can use General Finishes Gel Stain to restain your front door without having to remove the old stain. |
| What kind of sandpaper should I use to prepare the door? | A medium-grit sandpaper, typically between 80 and 120 grit, is ideal for preparing the surface of a front door for staining. |
| What products are recommended for staining exterior wood doors? | Old Masters Ascend Exterior Top Coat and Old Masters Gel Stain are commonly recommended products for staining exterior wood doors. |
| How can I stain a front door without pain? | You can achieve a painless staining process by using General Finishes Gel Stain, which allows you to stain the door without sanding off the old stain. |
| What can I do to make the stain last longer and enhance the door’s appearance? | Properly preparing the door’s surface by cleaning and sanding it, applying the stain correctly, and allowing it to air dry can help prolong the life of your stain and enhance the appearance of your door. |
Conclusion – Staining Front Doors
Staining front doors is a great way to enhance their appearance and protect them from the elements. By following the easy steps outlined in this blog, you can achieve professional-looking results without having to remove the door.
Whether you choose gel stain or liquid stain, make sure to clean and sand the door before applying the stain and finish with a protective sealer. With regular maintenance, your stained front door will stay beautiful for years to come.
FAQs
1. Can I stain my front door myself?
Staining your front door can be a DIY project if you have the necessary tools and follow proper guidelines for preparation and application.
2. What materials do I need to stain my front door?
To stain your front door, you will need sandpaper, a stain of your choice, brushes or rags for applying the stain, and a sealer to protect the finished surface.
3. How long does it take to stain a front door?
The time it takes to stain a front door depends on factors such as the size of the door and how many coats of stain you apply. Generally, it can take anywhere from a few hours to a full day.
4. How often do I need to restain my front door?
The frequency of restaining your front door depends on various factors such as exposure to sunlight and weather conditions. In general, it is recommended to restain every 2-5 years for optimal protection and appearance.


